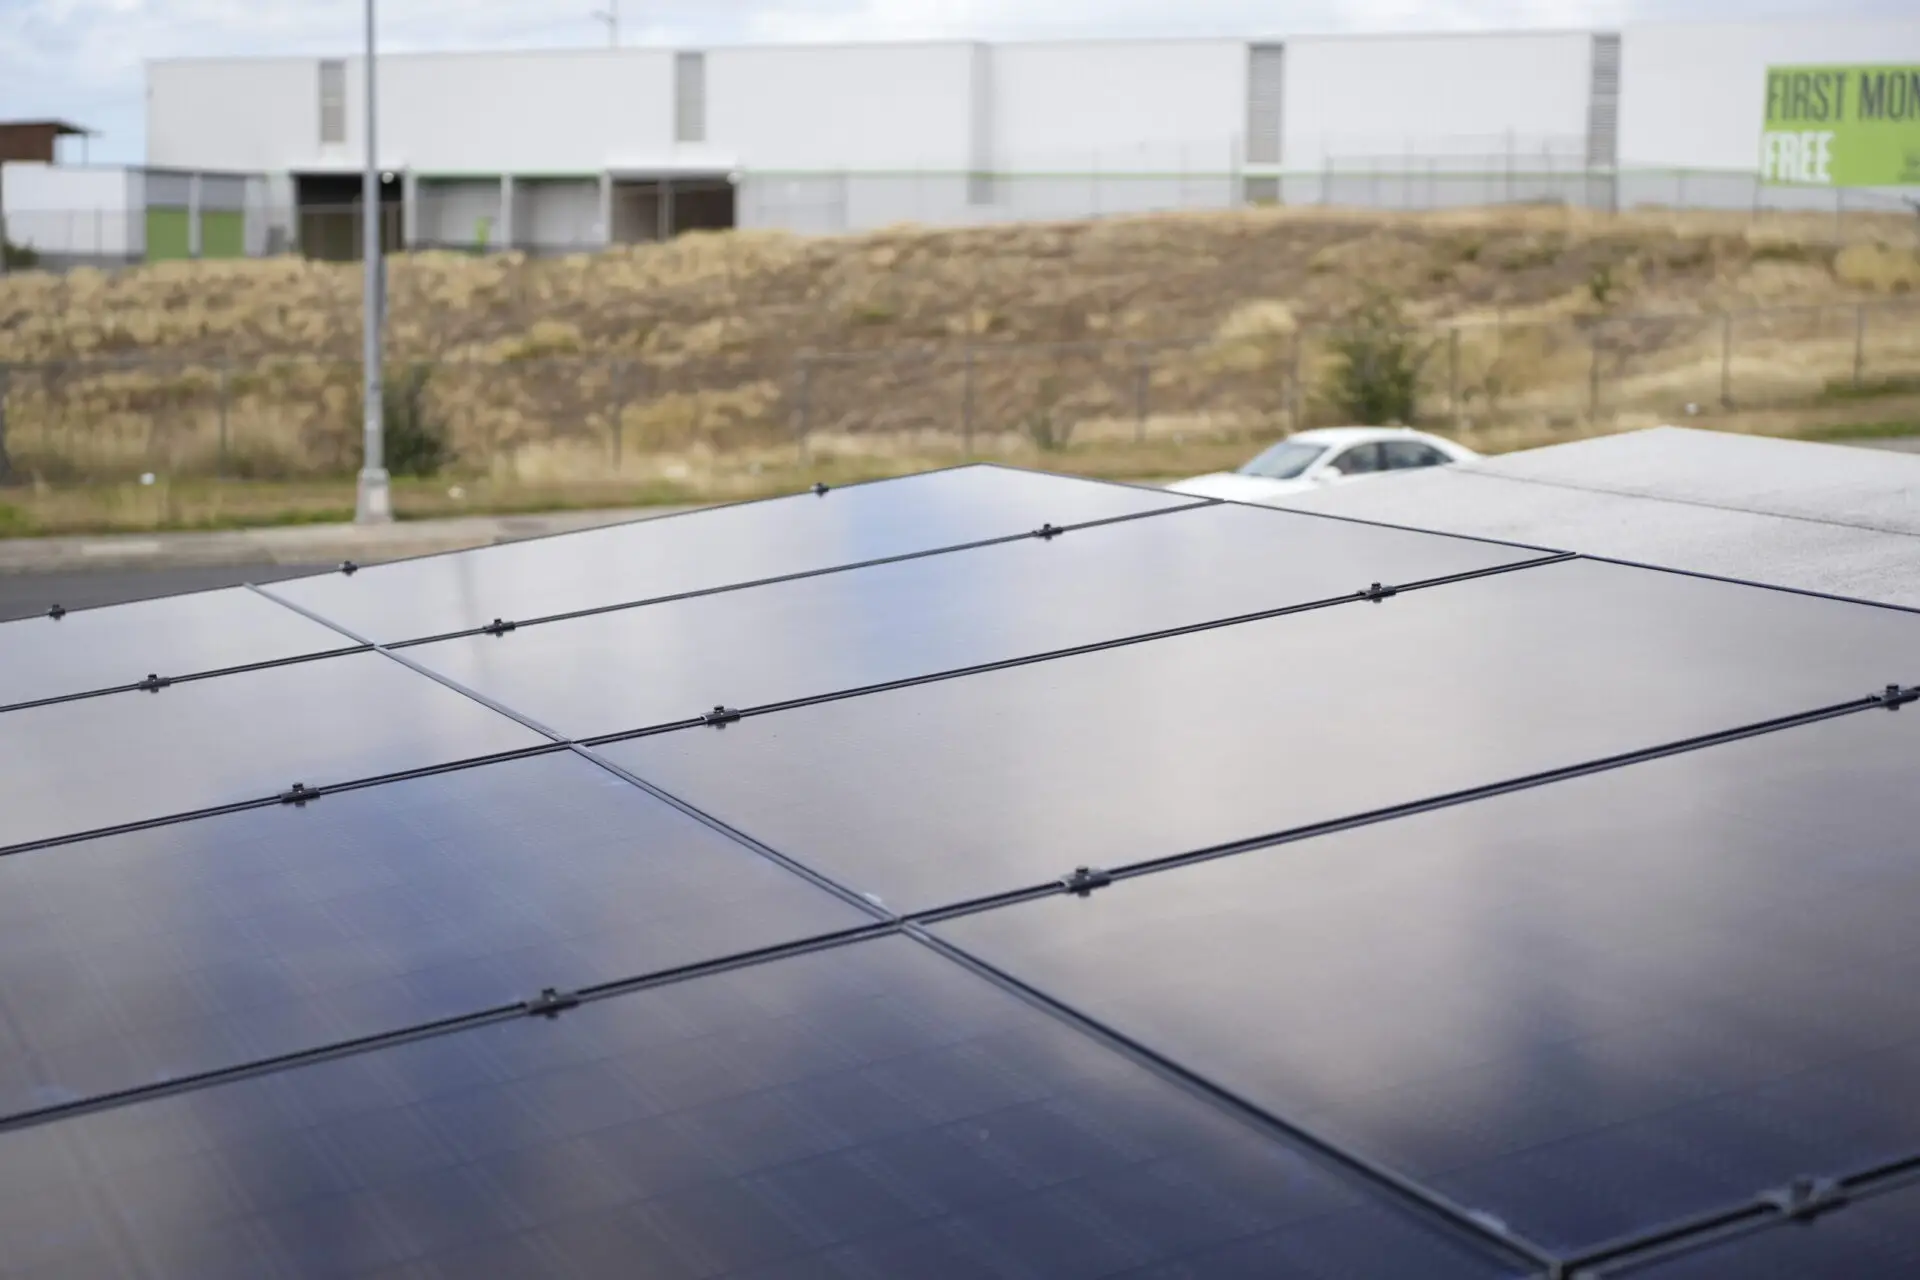
Installing solar panels yourself can be a cost-effective way to harness renewable energy and reduce your carbon footprint. This DIY solar guide will provide you with a step-by-step approach to help you install solar panels yourself.
Planning and Preparation for DIY Solar Panel Installation
Assess Your Energy Needs
Before starting the installation, you need to assess your energy needs. Figure out how much energy your household uses and then calculate the number of solar panels required to meet that demand. This information will help you decide on the size and type of solar panel system you need.
Choose the Right Location to Install Solar Panels
Selecting the best location for your solar panels helps increase their energy efficiency. In the Northern Hemisphere, most panels should face south and be tilted at an angle that matches your latitude. Ensure there are no trees or buildings that could block sunlight.
Gather Tools and Materials
You’ll need several tools and materials for the installation:
- Solar panels
- Mounting hardware
- Inverter
- Batteries (Optional)
- Charge controller (If using batteries)
- Drill and drill bits
- Wrenches and screwdrivers
- Wire cutters and strippers
- Multimeter
- Electrical wiring
- Safety gear
- Ladder
How to Install Solar Panels Yourself: Step-by-Step Installation Guide
Step 1: Install the Mounting System
The first step in DIY solar panel installation is setting up the mounting system to secure the solar panels to your roof.
- Locate the Roof Studs: Use a stud finder to locate the studs in your roof where the mounting brackets will be attached.
- Attach Mounting Brackets: Secure the mounting brackets to the roof studs using lag bolts. Ensure they are level and evenly spaced.
- Install Rails: Attach rails to the mounting brackets following the manufacturer’s instructions.
Step 2: Set Up the Solar Panels
- Attach Panels to Rails: Lift each solar panel onto the rails and secure them with the included clamps or brackets. Make sure they are aligned and tightly fastened.
- Connect Panels Together: Connect the solar panels in series or parallel, depending on your system design. Use the connectors and wiring as specified by the manufacturer.
Step 3: Wiring the System
- Install the Inverter: Mount the inverter close to your main electrical panel.
- Connect Solar Panels to Inverter: Run electrical wiring from the solar panels to the inverter. Use a conduit to protect the wiring. Be careful to follow local electrical codes.
- Ground the System: Connect the grounding wire from the solar panels and inverter to a grounding rod or your home’s electrical grounding system.
Step 4: Connecting to Your Electrical System
- Install a Disconnect Switch: Mount the disconnect switch near your main electrical panel.
- Connect to Main Electrical Panel: Run wiring from the inverter to the disconnect switch and then to your main electrical panel. You may need a licensed electrician to make the final connection to ensure compliance with local codes and regulations.
Step 5: Testing and Activation
- Check All Connections: Double-check all electrical connections to ensure they are secure and properly insulated.
- Test the System: Use a multimeter to test the voltage and current output of the solar panels and the inverter.
- Activate the System: Turn on the inverter and the disconnect switch to begin generating solar power.
Turn to Solar Panel Installation Experts
While DIY solar panel installation can help you avoid the cost of installation, it can also be quite dangerous and risky. If you don’t have a background in electrical work, it is usually best to reach out to a local team of solar panel experts for installation. At Attyx, our solar team is trained in proper installation processes and safety procedures that help ensure successful solar panel installation. We provide affordable options and low-interest financing plans. Just give us a call.


